
I started using Playwright a few years ago but didn't dig into it until late last year when I upgraded my site to Nuxt 3. I was paranoid that I was going to screw something up so I decided to use an end-to-end testing approach so I could sleep a bit better at night.
Just recently, I released the final bits for my latest course, The Frontend Accelerator and I devoted an entire hour-long video to Playwright which is yours to watch free, if you want (link below - there's some context you should read first).
If you don't know: Playwright is a fascinating testing tool for frontend applications. It uses various rules to snoop your DOM and can interact with it just like any user will.
I won't say that using Playwright is easy, but I find that I can use my favorite style of testing (scripted stories) without much trouble. Oh, and before I forget: you can use Playwright to do all kinds of testing, including unit and behavioral - I'm going to focus on e2e.
Character and Plot
When you do end-to-end testing it's a good idea to understand who your viewers are and what they want from you. I suppose that's obvious, but it takes a degree of creativity and skill to do it well.
This will always be a challenge for me, but I'll share with you something that I learned over the years: create some characters with motivations and let your site provide the plot.
I've never met you (probably), but I'm going to guess that you might be one of the following:
- A seasoned frontend dev that wants to do more frontend testing. You've heard of Playwright, but haven't used it much so are curious.
- A Playwright veteran who is curious about what I'm going to say and whether I'm full of crap.
- Mildly curious about frontend stuff, skimming the article.
There are probably a few more "buckets" but let's start here.
Build a Story
Using these motivations, I can now create a script about your visit to my blog. Let's give a name to the seasoned frontend dev who's heard of Playwright... we'll call her Anya:
import { test, expect } from '@playwright/test';

test.describe("Anya visits the Playwright post", () => {
  test.beforeEach(async ({ page }) => {
    await page.goto('https://robconery.com/playwright');
  });
  test("... and sees an engaging title", async ({page}) => {
    await expect(page).toHaveTitle("YOU WON'T BELIEVE WHAT PLAYWRIGHT DOES TO YOUR CODE")
  });
  test("... and watches a free video", async ({page}) => {
    const player = await page.getByLabel("video-player");
    await expect(player).toBeVisible();
  });
});
The idea is to script her interaction, understanding her motive for dropping by. Our application's answer to that is to grab her attention using a click-bait title and then show a free video as a reward for reading.
This is where the creative part comes in, at least for me. I need to put myself in Anya's position and do my best to figure out what will solve her problems. I'm going to guess she'll want to know more about the above code.
The Power of Locators
One thing I absolutely love about Playwright is how it pushes you to think about accessibility and assistive technology. We put alt tags on our photos, title on our links, I'm sure, but do you know how to use the ARIA tags?
If you didn't know (like me), ARIA stands for "Accessibility Rich Internet Application" and if you tag your application using aria attributes, it can be really helpful.
Most browsers have some form of Accessibility developer tooling. Chrome gives you Lighthouse, which examines your page and offers suggestions. Firefox has an actual Accessibility tab:
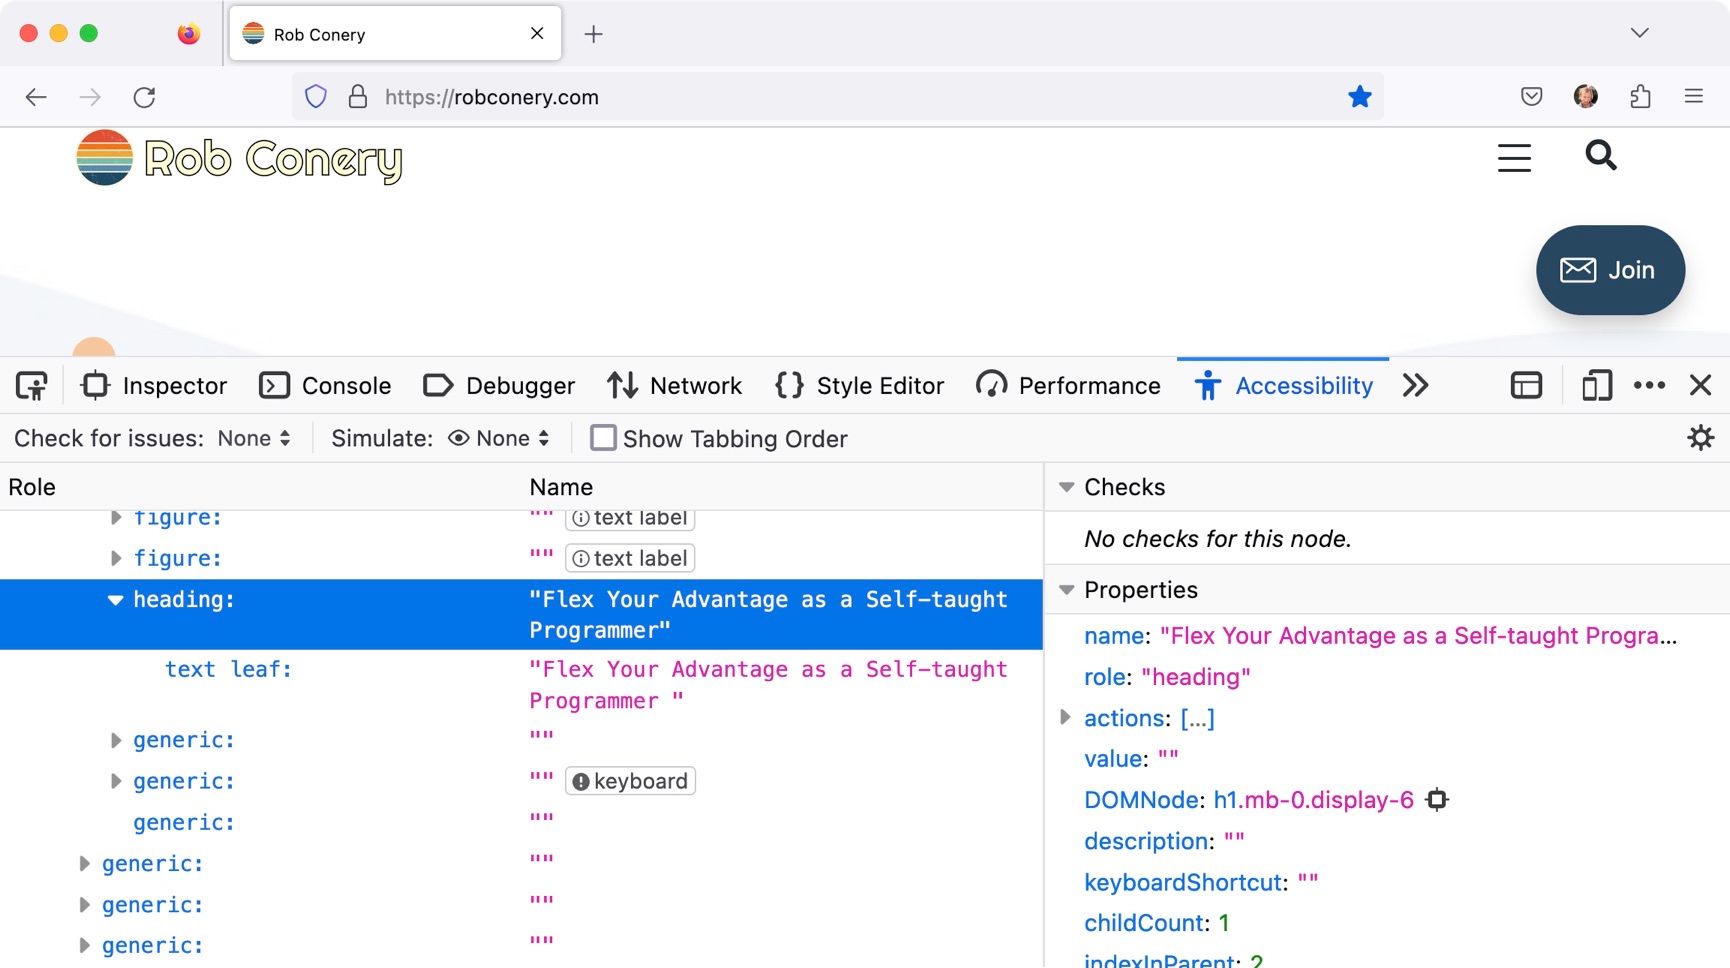
This is how assistive technology sees my blog, and also how Playwright (using certain locators) will find DOM elements on my page.
Choosing Your Locators Wisely
In my test example above, I'm using the getByLabel locator:
const player = await page.getByLabel("video-player");
This locator is looking for the aria-label='video-player' attribute, which describes an interactive element (buttons, links, form elements, etc.). I could have also used in id or something more specific, such as data-testid, which is Playwright's way of saying "just give me this damned DOM element".
You can also getByRole, which allows you to find a link, for instance, with the text "Click Me". This is how folks with assistive technology see your app, and it's great that Playwright pushes you to think along those lines.
Personally, I find myself using only four of the locators:
getByTestIdwhich uses thedata-testidattribute tag to find your element.getByRoleas discussed above.page.locator("#id")which will find a DOM element by IDgetByLabel, also discussed above.
The trick is to know which one to use, when. If something will help with ARIA concerns, that's what you should use. If something isn't interactive or something a viewer will care about, then id or data-testid works great.
Wanna Watch a Video?
This is the case study video I put together for the Frontend Accelerator course. It's just over an hour long and uses the application we build during the walkthrough as a test subject.
It's not exhaustive, but I think it covers a major chunk of what you'll need to know:
- Configuring tests in a sane way
- Setting up authenticated users
- How to deal with some common problems
- Using the CLI, VS Code and the UI app that comes with Playwright
I had a ton of fun putting this course together and I'll be releasing it final in the coming week, at which point the discount will end so get it while you can!